Our Services
Located in Farmington, NM - TNT Custom Epoxy strives to bring our customers the highest quality of floors possible, We specialize in solid color epoxy, Flake epoxy, and Metallic epoxy for residential garages and shops, commericial shops, outdoor patios and even interior decorative floors.
Our Services
-

SOLID COLOR FLOORS
Our solid color floors are offered in Epoxy, Polyaspartic, and Urethane with 18 different solid color floor options
-

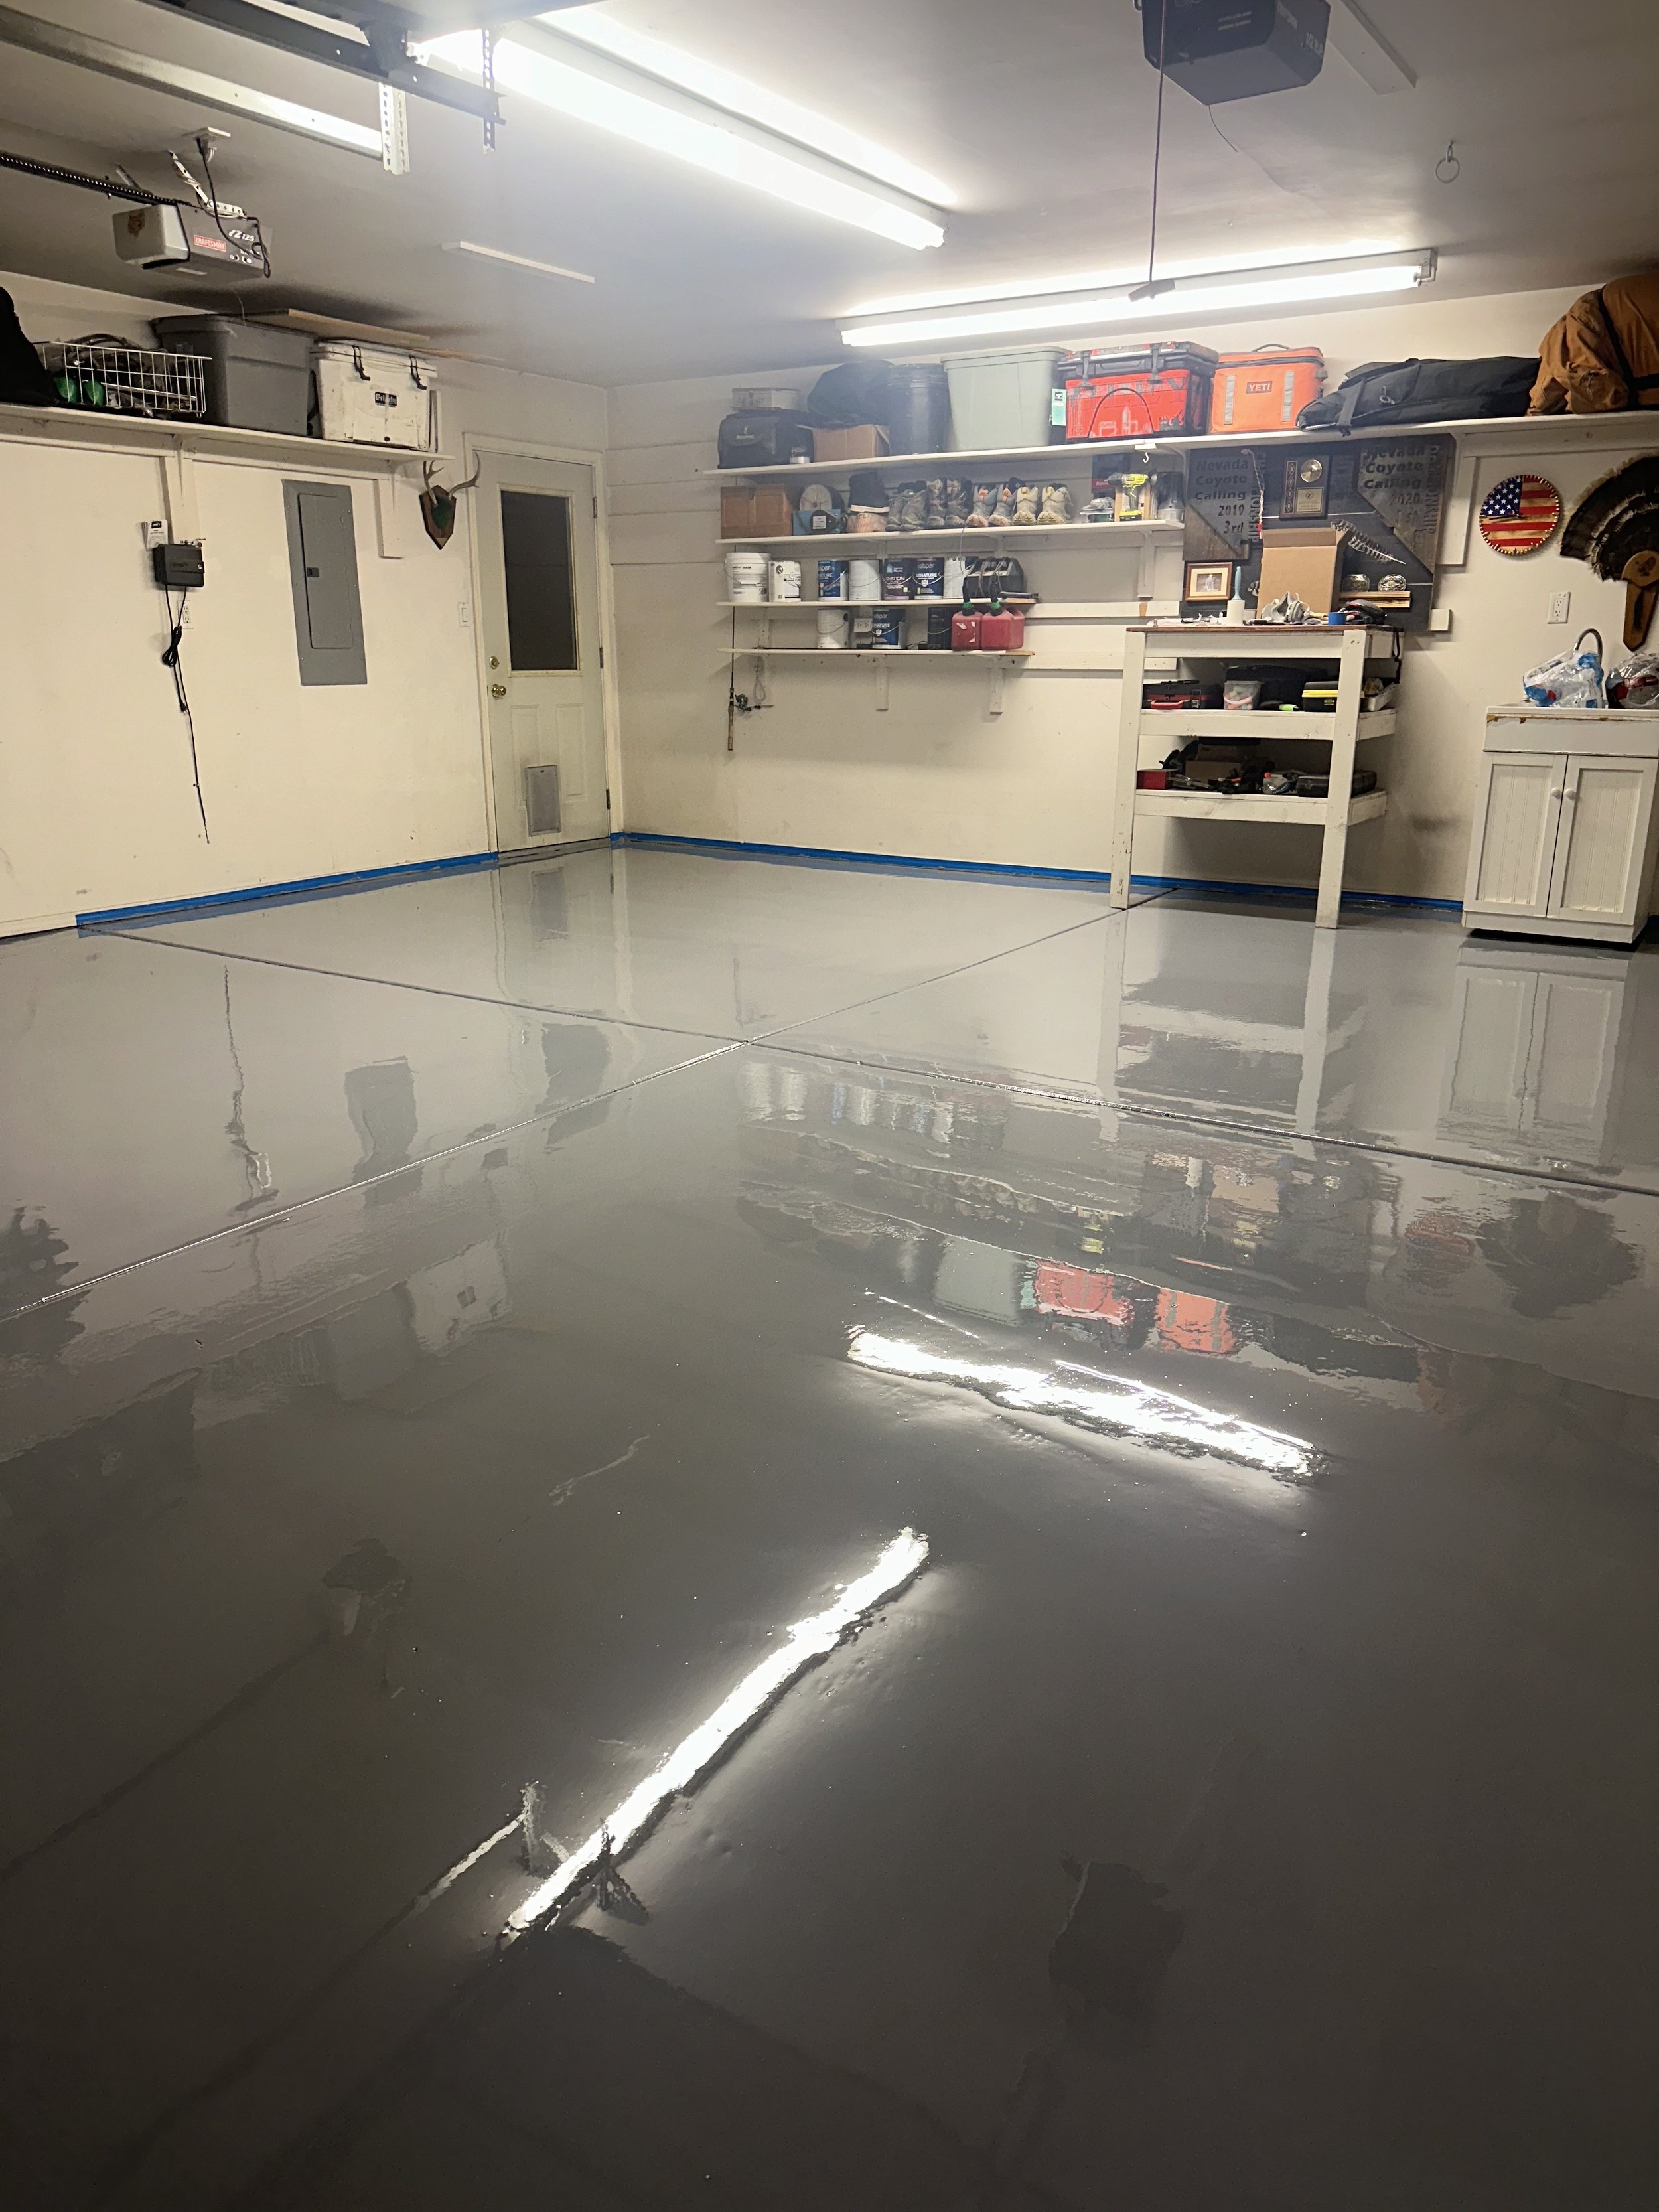
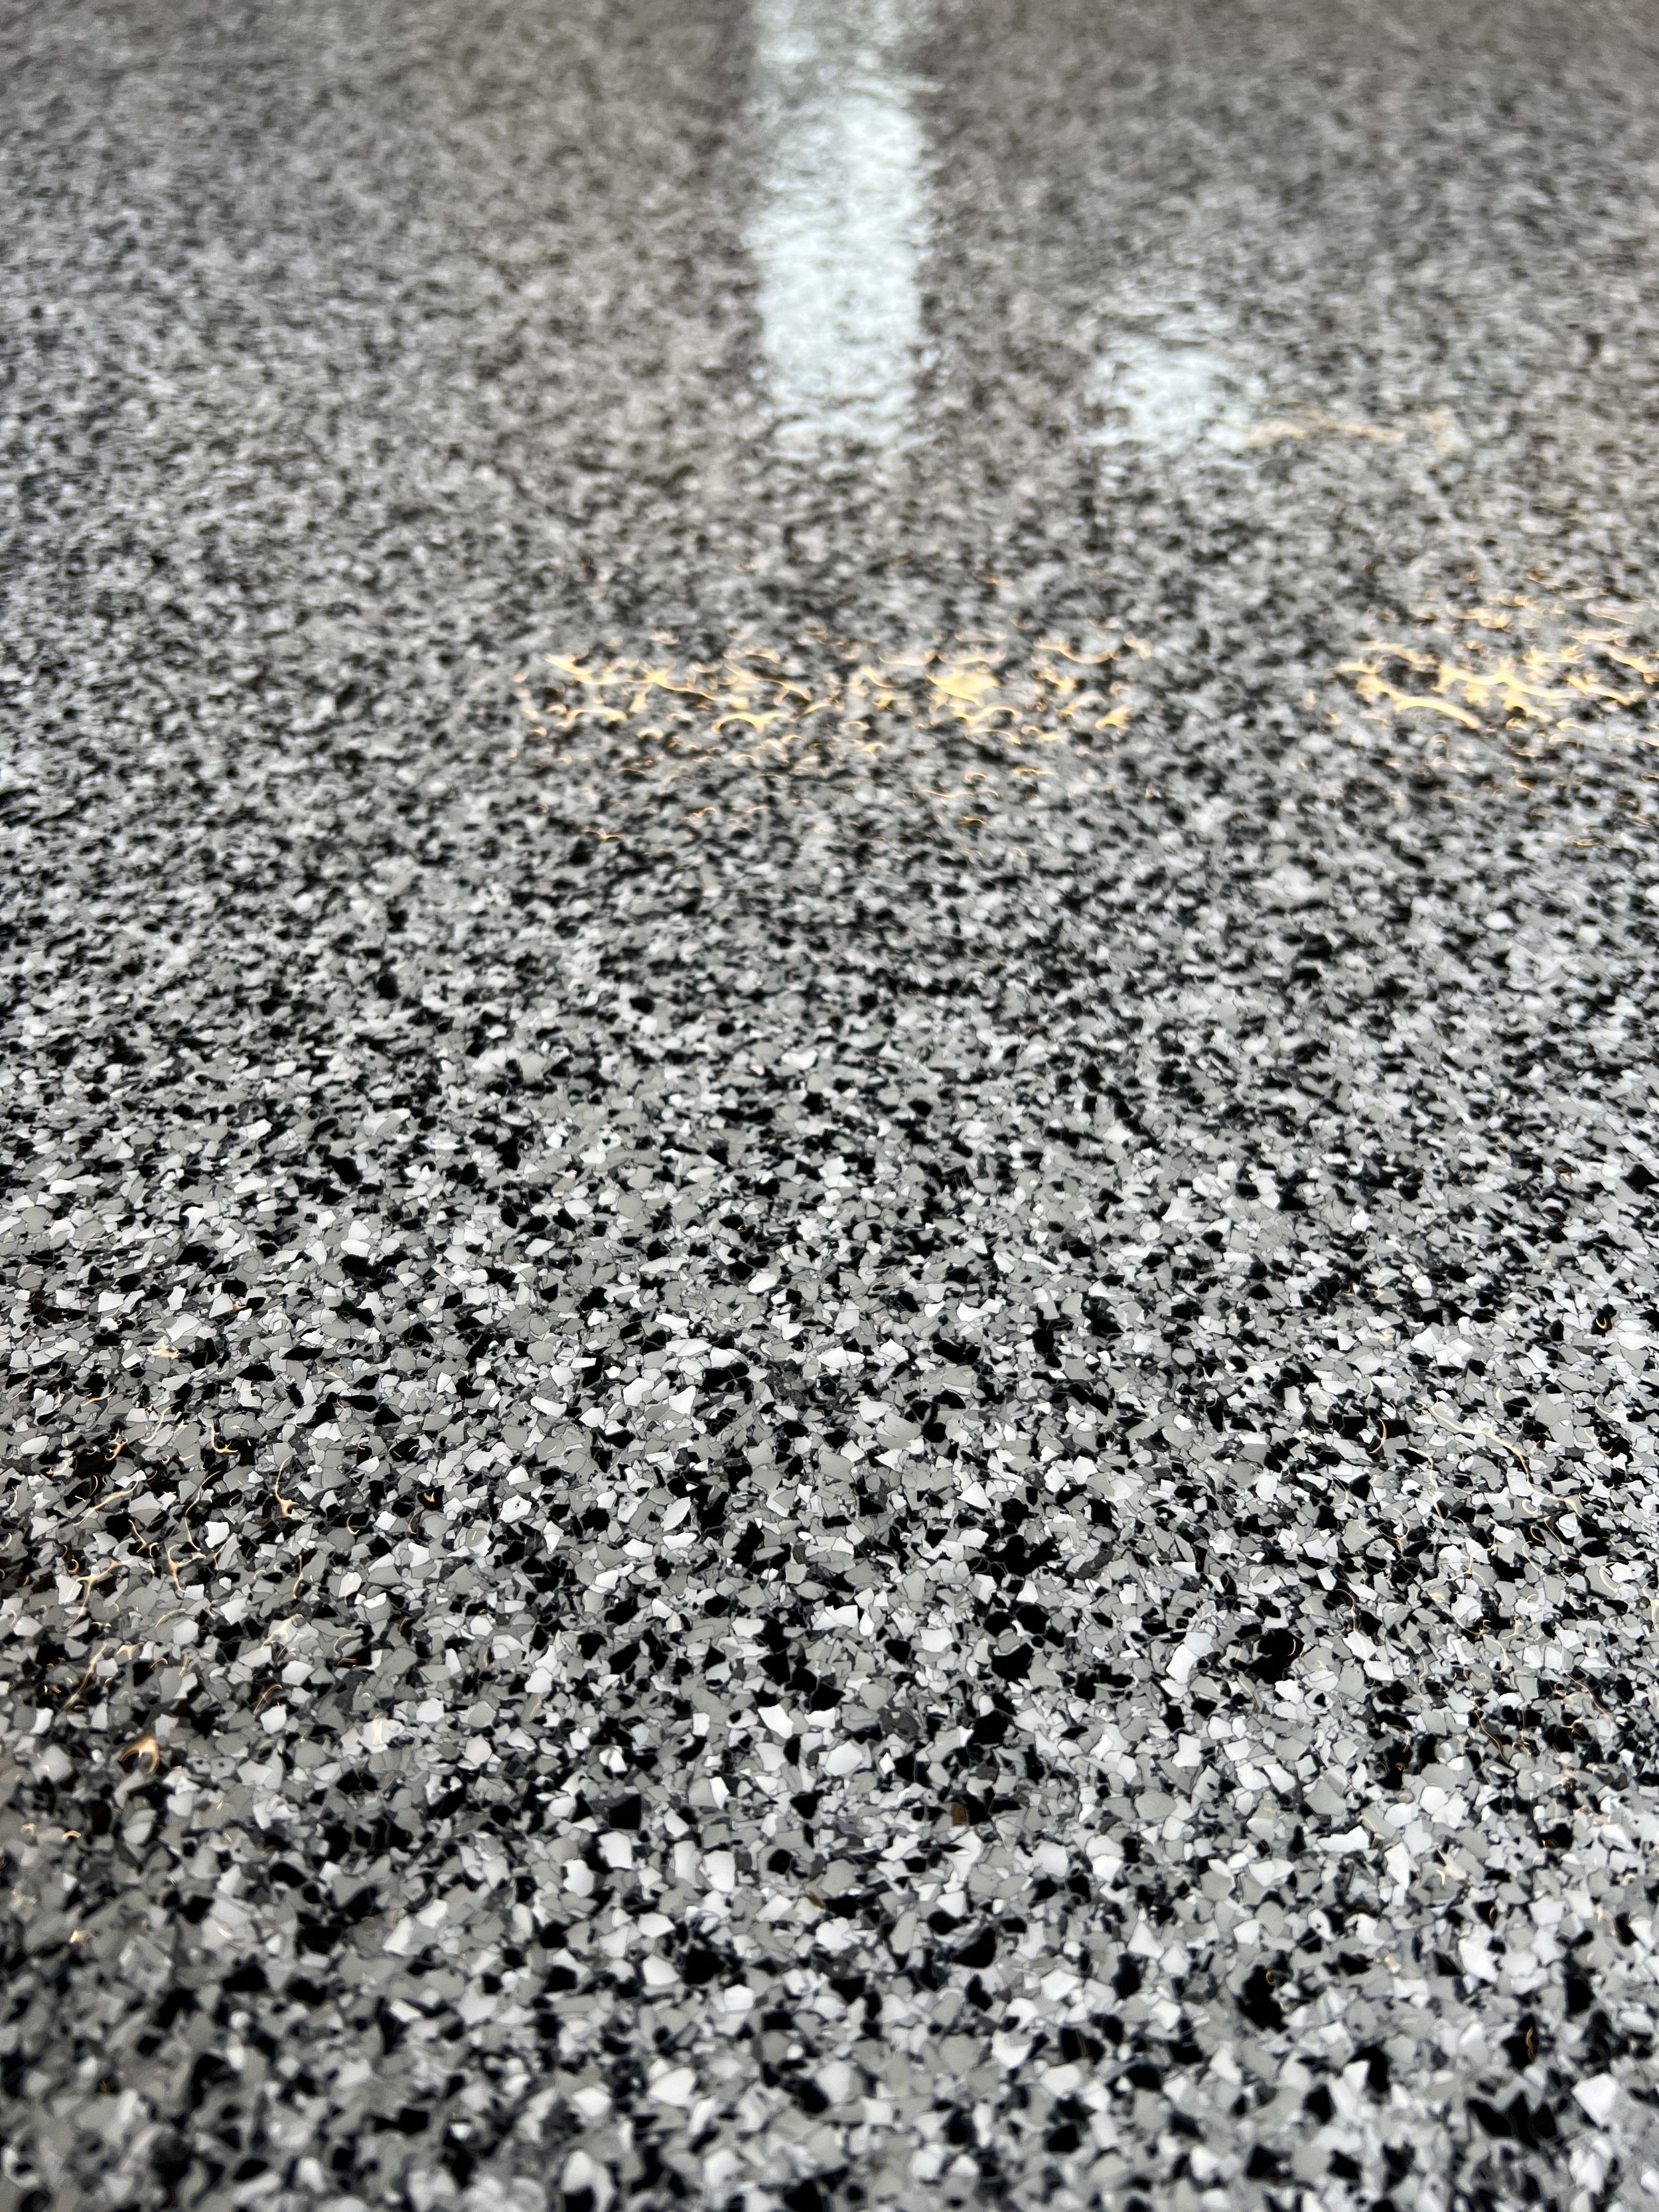
DECORATIVE FLAKE FLOORS
We offer over 400 different flake and color options with our decorative flake floors. With sizes from 1/16” all the way up to 1” flake size we are sure to find what you need. Decorative flake is our most common option for garages, shops and outdoor patios.
-

METALLIC FLOORS
With over 40 different pigment options our metallic floors have endless results. With every aspect being custom these floors truly are one of a kind.
STANDARD ECONOMY FLOORS
Standard Economy epoxy floors are installed with an epoxy base coat, flake, And clear epoxy top coat.
PROFESIONAL FLOORS
Professional Epoxy Floors are installed with a primer coat, intermediate coat, flake, and clear coat top cover w/ non-skid aluminum oxide compound.
EXTREME DURABILITY AND UV FLOORS
Whether your floor is seeing sun or forklifts 24/7 we have a floor for you. Using Polyaspartic, Urethane, and Extreme durabilty epoxy we have an option for anything your floors will endure.
Installation Process
-

1. FLOOR PREP
The first step in a professional epoxy floor is prepping the concrete by sanding and grinding the surface to ensure proper adhesive of the epoxy. Any cracks or defaults in the concrete are then filled, sanded and grinded before installing the first coat.
-
2. BASE AND INTERMEDIATE COATS
After the floors are properly prepped we start the base and intermediate coat process. Depending on the initial status of the concrete base and intermediate coats may be required. Lastly if flake is required we install the flake and let the epoxy cure.
-
3. TOP COAT
The final step is cleaning and vacuuming any flakes off the floor and making sure the surface is smooth. The final process is to install the clear coart and aluminum oxide non skid formula and allow the epoxy to cure.